
Creating a calculator with JavaScript is a great project for beginners to learn the basics of JavaScript, HTML, and CSS. In this tutorial, we will build a simple calculator step by step.
Why Build a JavaScript Calculator?
A JavaScript calculator helps improve your coding skills by teaching you:
DOM manipulation
Event handling
Basic arithmetic operations
Required Technologies
To build this project, you need basic knowledge of:
HTML (for structuring the calculator)
CSS (for styling)
JavaScript (for functionality)
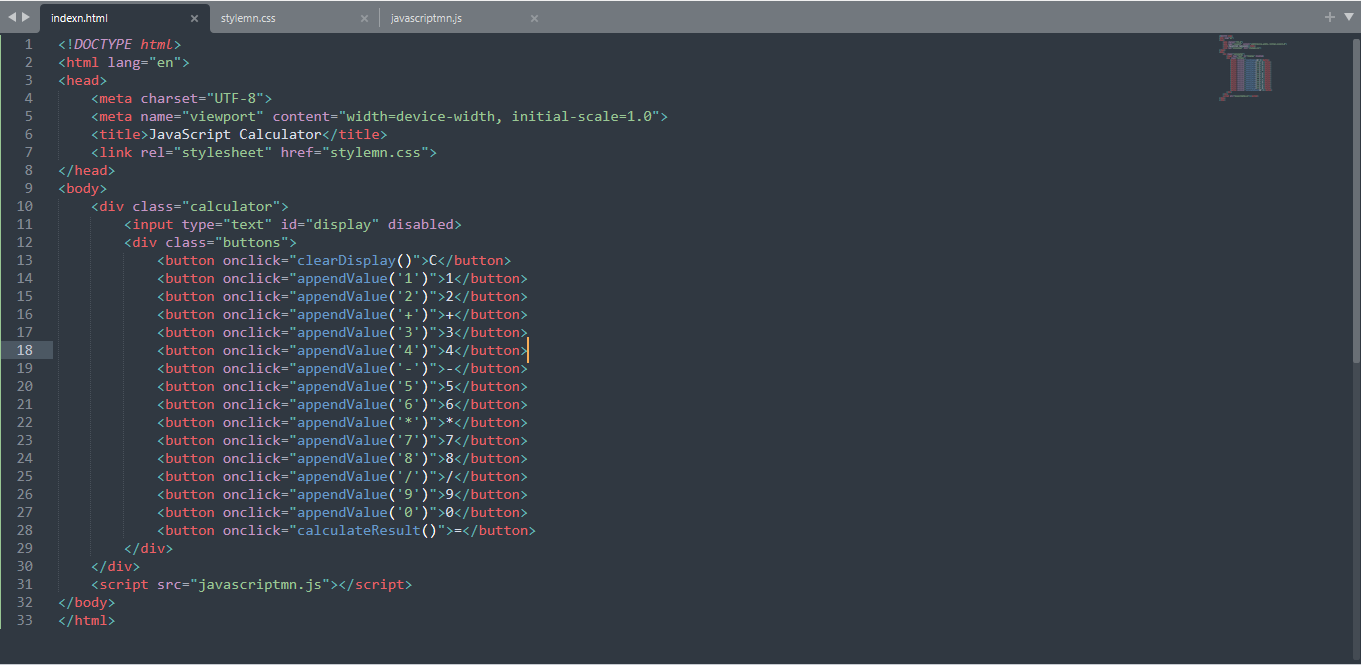
Step 1: Create the HTML Structure
First, create an index.html file and add the following code:
<!DOCTYPE html>
<html lang=”en”>
<head>
<meta charset=”UTF-8″>
<meta name=”viewport” content=”width=device-width, initial-scale=1.0″>
<title>JavaScript Calculator</title>
<link rel=”stylesheet” href=”stylemn.css”>
</head>
<body>
<div class=”calculator”>
<input type=”text” id=”display” disabled>
<div class=”buttons”>
<button onclick=”clearDisplay()”>C</button>
<button onclick=”appendValue(‘1’)”>1</button>
<button onclick=”appendValue(‘2’)”>2</button>
<button onclick=”appendValue(‘+’)”>+</button>
<button onclick=”appendValue(‘3’)”>3</button>
<button onclick=”appendValue(‘4’)”>4</button>
<button onclick=”appendValue(‘-‘)”>-</button>
<button onclick=”appendValue(‘5’)”>5</button>
<button onclick=”appendValue(‘6’)”>6</button>
<button onclick=”appendValue(‘*’)”>*</button>
<button onclick=”appendValue(‘7’)”>7</button>
<button onclick=”appendValue(‘8’)”>8</button>
<button onclick=”appendValue(‘/’)”>/</button>
<button onclick=”appendValue(‘9’)”>9</button>
<button onclick=”appendValue(‘0’)”>0</button>
<button onclick=”calculateResult()”>=</button>
</div>
</div>
<script src=”javascriptmn.js”></script>
</body>
</html>
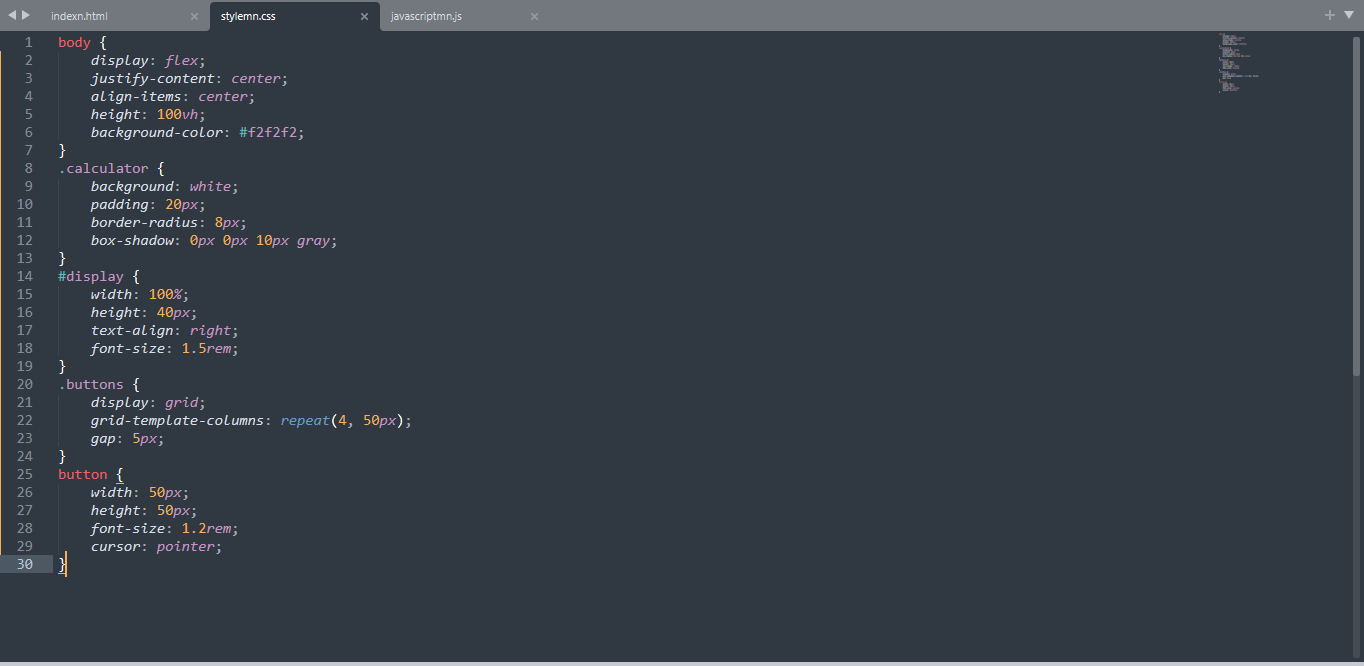
Step 2: Style the Calculator with CSS
Create a styles.css file and add the following code:
body {
display: flex;
justify-content: center;
align-items: center;
height: 100vh;
background-color: #f2f2f2;
}
.calculator {
background: white;
padding: 20px;
border-radius: 8px;
box-shadow: 0px 0px 10px gray;
}
#display {
width: 100%;
height: 40px;
text-align: right;
font-size: 1.5rem;
}
.buttons {
display: grid;
grid-template-columns: repeat(4, 50px);
gap: 5px;
}
button {
width: 50px;
height: 50px;
font-size: 1.2rem;
cursor: pointer;
}
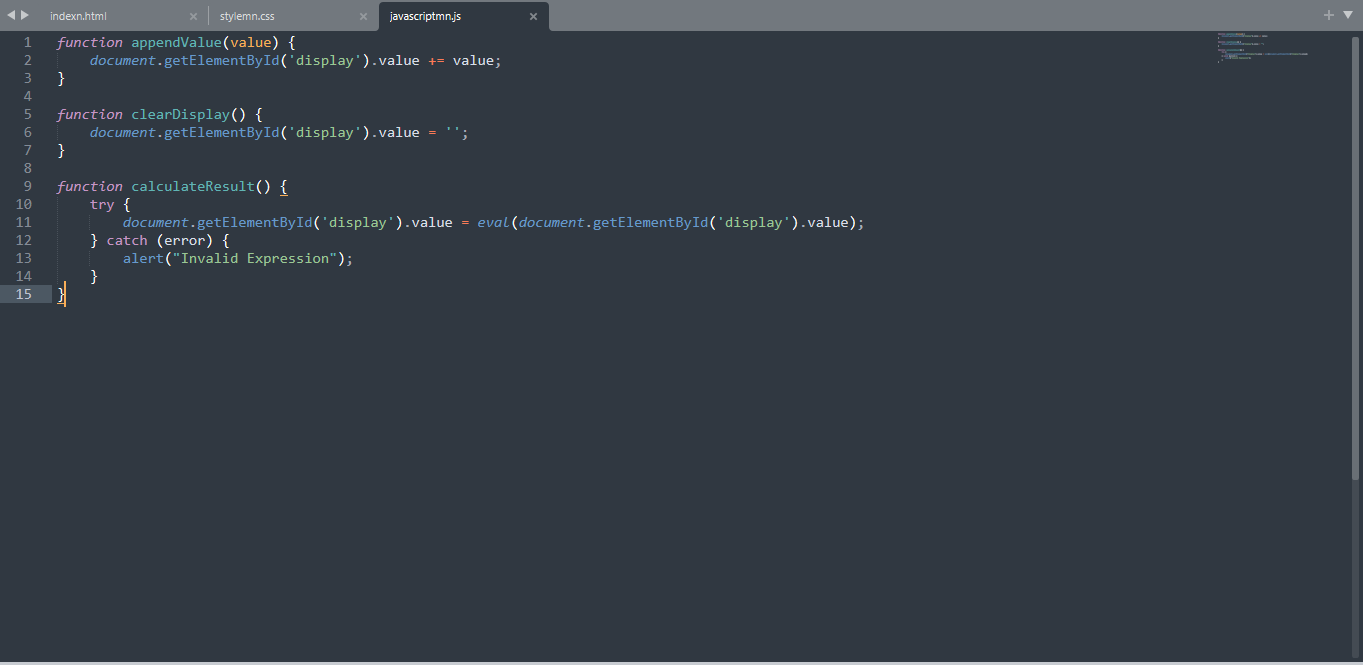
Step 3: Add JavaScript Functionality
Create a script.js file and add the following code:
function appendValue(value) {
document.getElementById(‘display’).value += value;
}
function clearDisplay() {
document.getElementById(‘display’).value = ”;
}
function calculateResult() {
try {
document.getElementById(‘display’).value = eval(document.getElementById(‘display’).value);
} catch (error) {
alert(“Invalid Expression”);
}
}
Next Steps
Add a history feature to store previous calculations
Improve accessibility with voice input support
Extend functionality with scientific calculator features
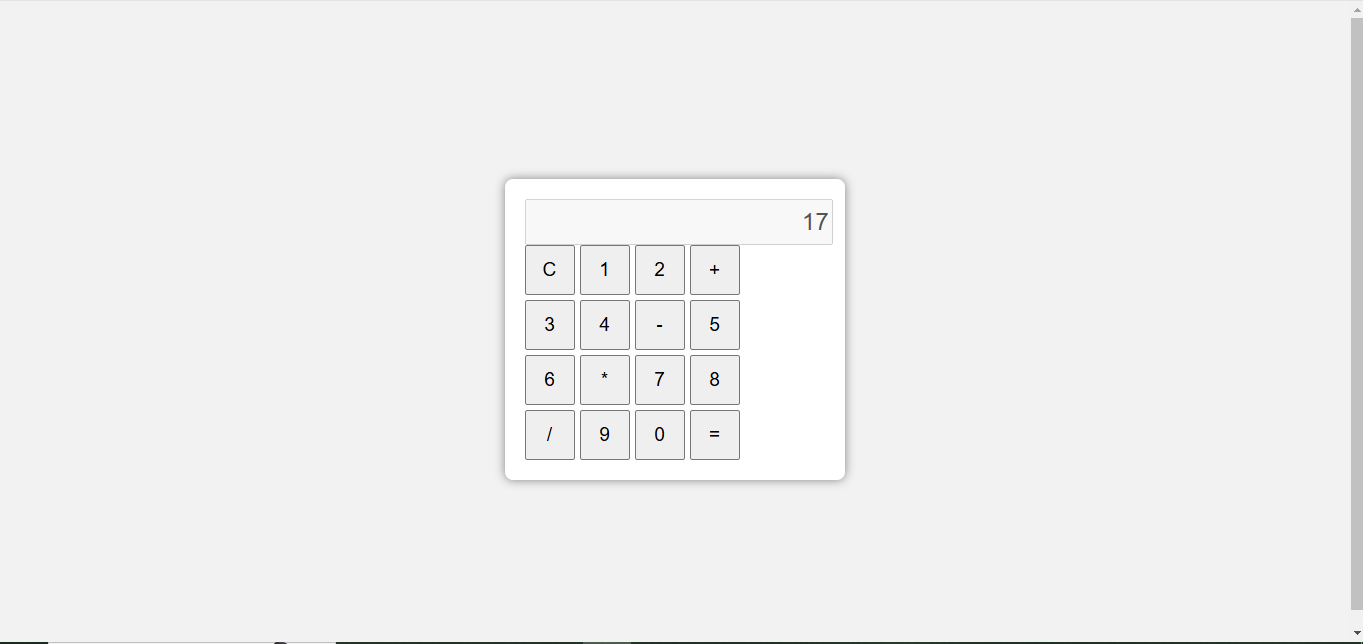
Happy Coding final result


Regardless of which specific tools you utilize, having the right technology in place will allow your new business to get off on the right foot toward lasting success.